Not just because it's really -really- cool, but also because I had all the materials necessary to do it just lying around the house.
It was SUCH a big success. They LOVED it!
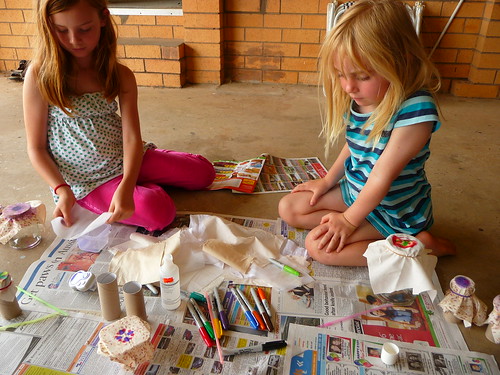
You can find instructions online for the experiment at Steve Spangler Science's website. But it's very simple; all you need is fabric, permanent markers (I had a bunch of colourful Sharpie markers), rubbing alcohol (we used nailpolish remover), some kind of dropper for the alcohol (we used plastic straws, just putting our fingers over the top to pick up the liquid), and something to stabilize the fabric (old plastic containers, plastic cups, toilet paper rolls and old glass jars were what we experimented with)
Oh, and a good, ventilated area to do this in, as alcohol and marker fumes are VERY smelly!
Step one is to pick which fabric you're going to dye, I have a wide range of various white/off-white fabric in my stash I'd been using as backing fabric; I specifically chose a variety of different blends and textures. There was some patterned fabric too.
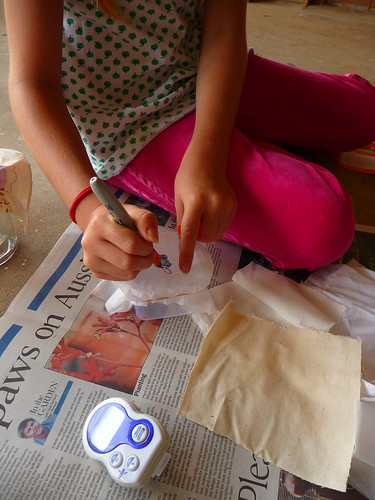

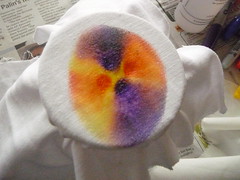
And then you draw in the centre of the fabric; roughly the size of a 20 cent piece Australian (American Quarter). All shapes and squiggles worked! Experiment with different colours; making dots or boxes or little portraits.
Then grab your straw-full of nail polish and start drop by drop, dropping it into the centre of the fabric and watch the magic bloom!! You can use as little or as much as you like. The goal was to experiment!
Hold onto your seats people!
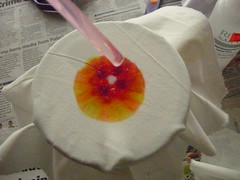
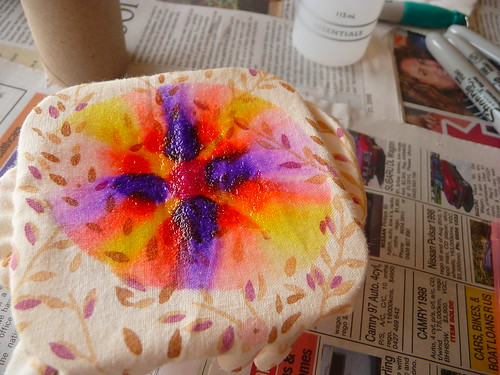
WOOOOOOO!!! Magic!
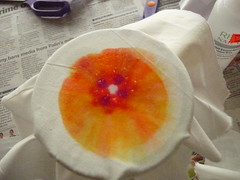
Want to see it again? ME TOO!

We all loved it! The girls especially, and it's addicting; watching those colours spread and blend and change right before your very eyes.
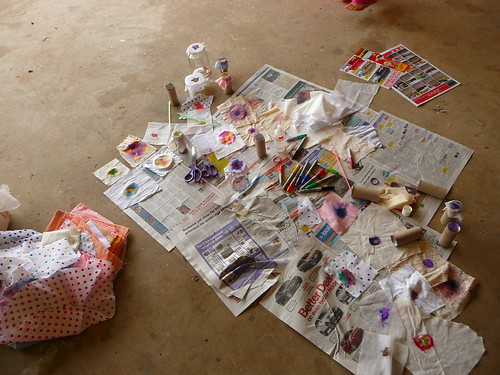
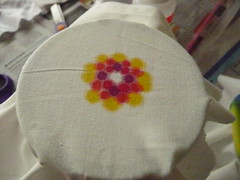
In no time the sizeable pile of squares I had made; sure that they would lose interest before we got anywhere NEAR through it disappeared into beautiful colourful dots.
And we still weren't done! I graciously ran and looted some more of my fabric stash and we kept on going all morning.
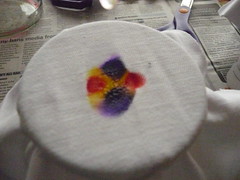
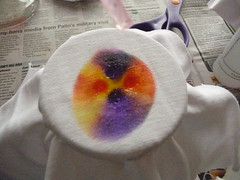
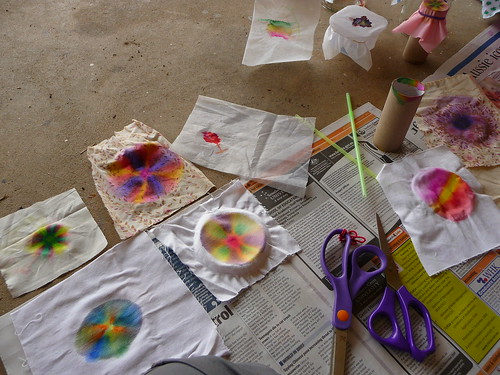
A particular moment of joy with my nieces came after encouraging them to give a particular piece of fabric a try; I'm not quite sure what it was made out of, but it was very thin and a little bit.. spongey. Is had dismissed it at first, so sure that it wouldn't work, but after my nudging to give it a try it turned out to not only "work" perfectly, but by far had the most saturated colours out of all the fabrics and had a really interesting absorption patterns; not quite perfect circles like some of the others.
I think that one opened the doors to experimenting and from there they really got into the spirit for the art; trying to make different patterns other then circles and experimenting with fabric that wasn't white and beyond.
I really recommend this project if you have kids; it's so easy to put together, cheap ingredients and immensely satisfying results, and it'll keep your kids occupied for hours!
These do need to be heat-set though if you plan to wear or do something else with these, and you should be VERY careful with your iron or dryer since alcohol is flammable. I left our finished squares out in the garage over night to let them dry completely then spent the next day ironing them all.
We had a lot of fun trying to come up with different ideas on what to do with them too, Isobelle thinks I should sew them into a quilt and give them to someone who needs a warm blanket. Angela thinks I should make them into barrettes.
Maybe we'll see if there's something we can't do together the next time we get to hang out.


No comments:
Post a Comment